All posts filed under: Get your Creativity on!

Toddlers and Self-Isolation – Ideas for small hands

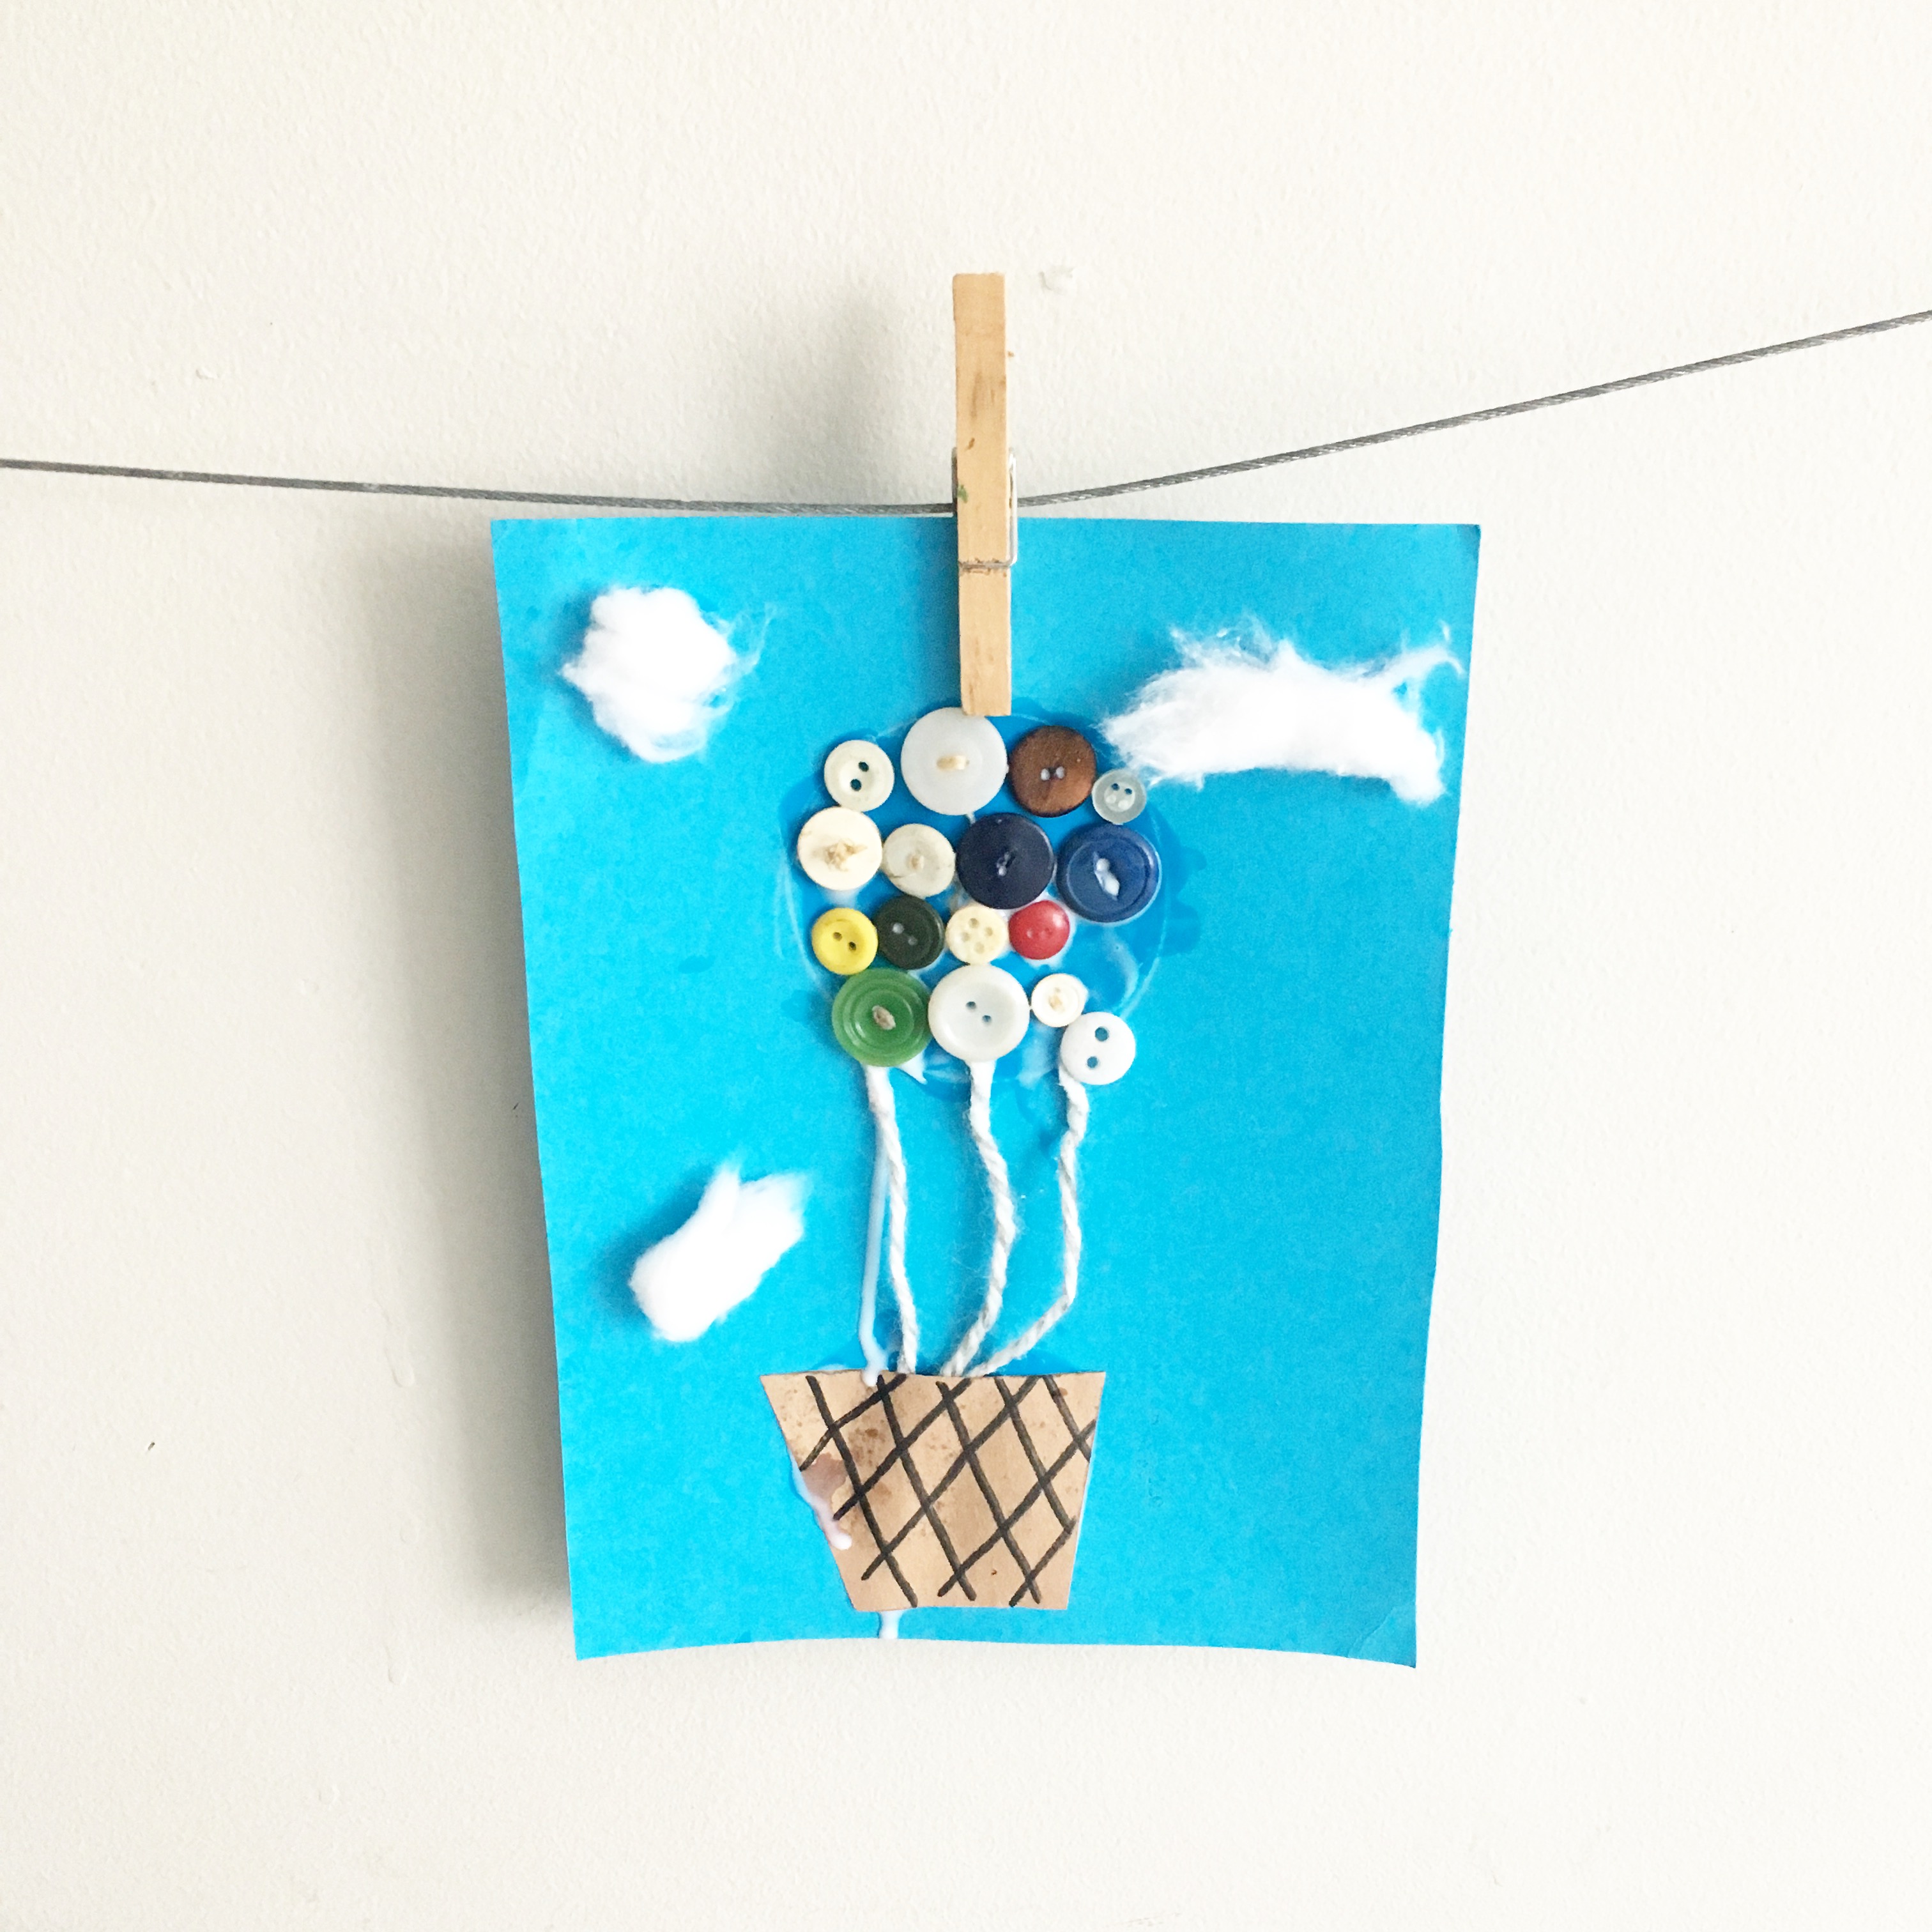
Are you stuck at home with a toddler? We have plenty of experience hanging with these small people – here are some scheduling and art suggestions for trying to maintain your sanity. Babies and toddlers like routine, their world is so unpredictable so providing them with some sort of routine helps them to know what is coming next. If you’ve got a babe between the ages of 18+ months to 3 years try out our daycare schedule for them. 8:30-9:30 free play Clean up 9:45am circle time – we’re hosting a FREE circle time on Tuesday/Friday if you want to join – send us an email! 10am – snack 10:30 – outdoor play 11:30 – lunch 12-2:30 nap time 3-4pm outdoor play 4pm snack time 4:30pm art 5-5:30 free play. Art Ideas A list of materials needed (all can be purchased at your local dollar store, which is currently still open). Paper Markers Watercolour Paint Gluestick Salad Spinner Shaving Cream Food colouring Qtips Paint Bingo Dabber Letter Art: Toddlers love repetition – we start the …

Online Therapy

If you’re struggling at the moment to keep your mental health in a good state, you’re not alone. We’re offering online virtual therapy sessions! Seasons offer therapy for children, adolescents and adults. We also help families navigate some of the challenges of parenting through workshops. Nikki Goldman Stroh is a Registered Psychotherapist with over 16 years of experience providing therapy to children and adults. Nikki started working with children and adolescents using Art and Play therapy. She now works mostly with adults dealing with anxiety and depression. Nikki began her training at Fanshawe College where she completed a diploma in photography. Later she earned a bachelor’s degree in psychology at the University of Western Ontario, and then a post-graduate diploma in Art therapy from the Toronto Art Therapy Institute. Over the years Nikki has taken additional training in psychology, counseling techniques and play therapy at the George Brown College and the Sick Kids Centre for Community Mental Health (formally Hincks-Delcrest). Nikki is a strong believer in using mindfulness and meditation with her clients. She has …

ABC’s

It’s that time of year….back to school and therefore our Tiny Tots are back to learning their letters! Our tots are wee guys, but that’s the perfect time to start with an introduction to letters! We pick one letter a week and focus on it, we expose the tots to the letter in our morning circle and then base our fine motor activity on the letter as well. For some of our little guys, it’s their first time being exposed to the alphabet and others are grasping letter concepts. It is believed that children who can quickly recognize letters have an easier time learning their letter sounds. For other great resources on how to teach letter recognition, check out http://www.proudtobeprimary.com Here are a few examples of some of the art we’ve made for A, B and C 🙂

How to Make a Holiday Wreath!

Last week we hosted a Wreath Workshop (which was just for moms, no kiddies allowed, which meant there was wine)! If you missed the workshop but would like to make your own wreath follow the instructions below.Materials 1 bough of pine 1 bough of evergreen or any other type of Christmas greenery 1 coat hanger Pliers Pine cones Ribbon Green Wire (can be purchase at the dollar store) Cranberries Directions Step 1: Using gardening shears cut off sections of your boughs that will be good size for your wreath. Using your pliers turn your coat hanger into a circle. It’s best to use a somewhat flimsy wire coat hanger, as the stiff ones are harder to manipulate. Once you have formed your circle you can begin designing your wreath. For those of us with Type A personality you can lay out your whole wreath in advance and get the exact look you desire. For those of who are a bit more whimsical you can create as you go along. Select pieces from your boughs and …

Sleepover Party!

Recently we hosted a very cute “sleepover party” – which was just the theme – the kids certainly did not sleep over! We had an ice cream bar, popcorn bar, pizza making station and pillow case decorating! We also got to watch a movie on our projector, while enjoying our popcorn. The kids loved it and it’s definitely an easy party to recreate in your own home. The popcorn bar was super simple to make. I purchased the red and white bags from the dollar store. The white container with the popcorn and smaller candy bins were purchased from Ikea. The little shakers and the chalkboard labels another great find from the dollar store. Finally, the popcorn sign was a purchase from Michaels, it was on sale and then I used chalkboard paint and voila! No party is complete without a pink lemonade stand. I purchased the glass container from William Sonoma but I’ve also seen them in a smaller version available at Kitchen Stuff Plus. The pizza bar took a little bit of prepping as I had to make …

A Tea Party!

My little girl turned one last Wednesday and this past Sunday we celebrated her birthday with a little Tea Party. Every detail of the party was a great DIY project. That meant lots of time management on my end to get it done, practice definitely makes perfect with these types of events. The background for the sweet table (minus the fabrics and scrapbook paper) was all made out of dollar store supplies. The burlap banner is a new item I came across recently at the dollar store and have used it for several different craft projects. The dollies come in a pack of 100 and well, you can never have too many of those! The flowers on the bottom bunting another fabulous dollar store find! The boxes that the tiered stands are on and the easel with the canvas board, also purchases from the amazing dollar store.  A great way to add some style to a cake is to add flowers, note though, lots of flowers are not edible and not even safe to put …

Rosette Cakes

I have been seeing a ton of these Rosette Cakes online lately and wanted to give it a go. I was delighted with how easy they are to make, it’s all about having the right icing tip, it really is. I’ve come to learn that as long as you have the right tools baking is quite simple. I used a Wilton tip #2D or you can use #1M, either one works. I baked a 3 layer cake and used a buttercream icing to mask the cake first. For the pink rosette cake, I did the top first and then worked my way down the sides, some people may suggest starting the other way, I think whatever you’re comfortable with. For the purple rosette cake I actually only used one icing bag and one bowl for mixing. It seemed like a daunting cake to make at first with 3 different colours of icing, but using one bag and one bowl made it super easy. I started by adding a very small amount of icing gel to …

DIY Easter Craft!

We hosted a bunny hop this past Sunday and it was so much fun! The kids loved the Easter Egg Hunt the best, surprise, surprise! The craft and cookie decorating were definitely enjoyed too. The kids made these adorable little dioramas. For time purposes we painted the boxes blue beforehand and then the kids got to decorate it however they wanted. This is a great little craft to do with various ages and a perfect little hostessing gift if you’re going somewhere for Easter dinner this weekend. Almost all of the materials were purchased from the dollar store. All you need is: Brown Box Blue paint Glue Cotton Balls Small little yellow ducks/sparkly eggs Pipe Cleaners Easter Grass

DIY birthday (for big, grown-up people)

For starters, I apologize for the delay in posting. I got a little lost over the holidays and have only recently found my way back to the keyborad. I find December to be all consuming and it takes a bit of time to recover, but I’m ready to completely return to routine. I was even able to host a private dinner party recently. Putting that little extra effort into creating a special birthday for a friend is well worth it. If you would like to host a private event at our venue in the Annex, with access to our commercial kitchen please feel free to visit our Birthday page.  If you’re feeling crafty for your next party, try making a couple of these tassels to hang. Lots of websites list different ways you can create the tassel look. I was really drawn to the shiny tassel, after all which girl doesn’t like a little sparkle. Check out this DIY tassels for instructions. For mine, I used three different types of paper, wouldn’t recommend using the kraft …

Wine and Crafts!

Is there really a better combo than wine and crafts? It may be one of my favorite pastimes and it appears I’m not the only one. Last week we hosted a wine and craft night – which featured learning how to make your own wreath. Below are some pics from the workshop, if you want step by step instructions on how to make your own wreath, please check out one of our earlier posts on DIY holiday crafts.